Let’s unravel a group of drywall issues that homeowners often encounter. As a seasoned painting contractor based in Montville, NJ, serving Northern New Jersey homeowners, I’m here to share insights into common problems like cracks in drywall seams, bulging seams, and drywall cracking in corners. While I’m not a structural engineer, I can provide valuable information on spackling, drywall preparation, and painting. For any questions related to structural issues, it’s best to consult with a qualified professional.
Moisture’s Impact on Drywall
One of the key culprits behind bulging or cracks in drywall seams and corners is moisture. High humidity levels or water leaks can compromise the integrity of drywall, leading to unsightly issues. In areas prone to damp conditions, such as bathrooms or basements, it’s crucial to address moisture problems promptly. Proper ventilation and maintaining optimal humidity levels can go a long way in preventing moisture-related damage to your drywall. Consider getting a bathroom vent fan with a higher CFM rating than you have, it will vent the air out of the bathroom quickly and prevent lingering moisture.
The repair for bulging or cracks in drywall seams would simply be to remove the seams and re-do them. This is a straightforward process, but is something which takes high skill. It is important to hire a professional for this sort of project as it is easy to mess up and take precision to make it look right. In my experience, I have seen several walls and ceilings where a patch job was not done well and it shows day in and day out.
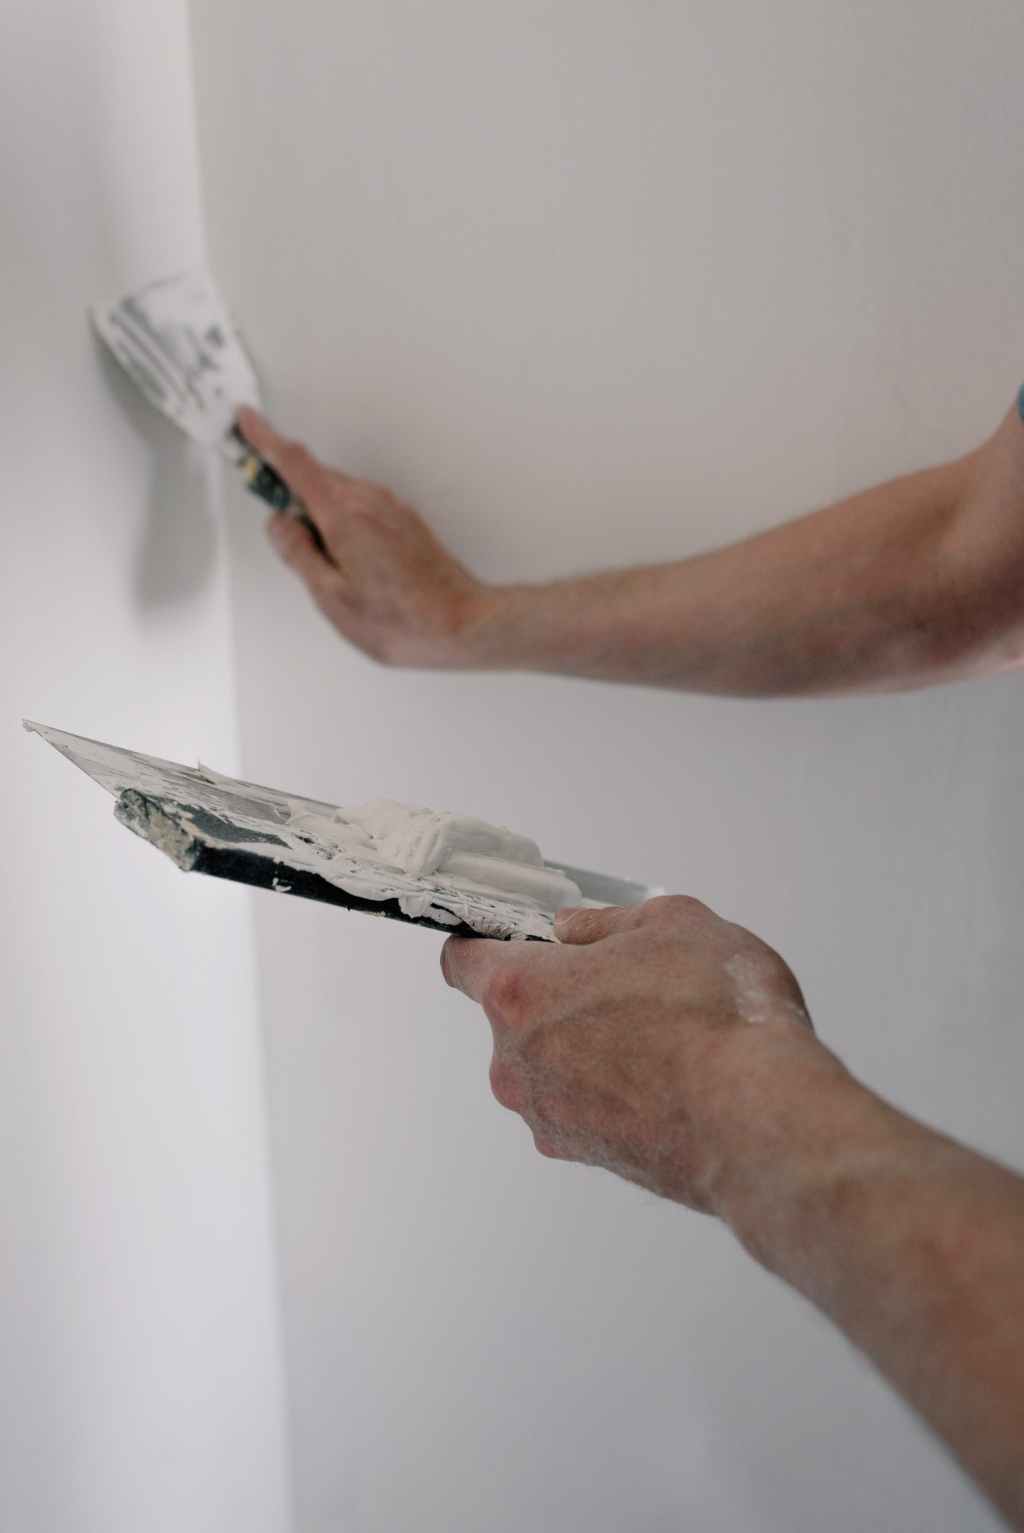
To repair them, the first step would be to remove the spackle and tape on the areas where you are seeing bulging or cracks in drywall seams. You might wet the area to make it easier to lift the spackle and tape without damaging the drywall. Note: you may need to remove the entire run of tape to have a seamless finish throughout the room. Once the tape and spackle are removed, you can begin re-taping and re-spackling the area. Once the spackle dries, you can sand the area and give it another round of spackle. If you live in an area where texture is not used, you may have several rounds of spackling and sanding to get a smooth finish. In areas where texture is used, you may well have just one or two rounds of spackling and sanding before applying the texture.
Once the repair is made and the surface looks good, a repaint will be necessary. Start by priming the recently spackled area (the spackle will suck up a lot of paint if you skip this step). Once the primer is dry, you can paint the wall or ceiling, give a second coat of primer if you are really concerned about the spackle absorbing the paint. If you are painting a wall you may need to paint the entire room to avoid a noticeable difference in color. If you are painting a ceiling, repainting the entire ceiling will be a must.
Active or Recent Leaks
Building on the moisture topic… An active or recent leak can manifest in sagging tape, spackle, and visible water marks (leading to a brown water stain on ceiling, walls, trim, etc.). If you suspect a leak, it’s crucial to address the source promptly and repair the affected drywall areas. Before attempting to repair the area, it is advisable to contact a licensed plumber (perhaps roofer, HVAC contractor, or some other trade) to get the root cause of the water damage, you would not want to repair the area only to find it damaged by a water leak again. Once your leak is resolved completely, follow the above steps to repair the area. Once caveat on the above instructions would be to do a complete and proper priming job on the affected area. If you have a brown water stain on ceiling or walls, it will be worthwhile to prime the entire area with a stain blocking primer, rather than just the affected area, to ensure water stains do not show through.
Areas Prone to Impact and Weakness
Certain areas in your home are more susceptible to drywall damage, especially those with periodic impact or heavy traffic. Have you ever walked down your hall, look at your attic access and wonder “why is my ceiling cracking?” Attic access points can experience adjacent cracks in the ceiling due to intense occasional foot traffic. Attic joists are not always designed to withstand the intense foot traffic our floor joists can, and in older homes, framing may not meet modern standards, making them more prone to movement. Understanding these vulnerabilities can help homeowners take preventive measures to cracks in the ceiling or cracks in drywall seams.
On attic access areas, before repairing cracks in the ceiling, it may be worthwhile to fortify the access area by installing blocking between joists around the access to distribute load more evenly. Hopefully, this will prevent cracks in the ceiling from returning once fixed. These sorts of cracks in the ceiling can often be filled with spackle, or a paintable caulk. If the drywall seam is cracking or sagging, re-taping, and re-spackling may be necessary. The spackle/caulk application will be noticeable especially if the area is painted anything other than white. Repainting will be a must.
Improper Repair or Installation
Previous repair or installation work done improperly can be a significant contributor to bulging or cracks in drywall seams. Questions to consider include: Was the tape adequately applied during the installation? Were quality materials used, or were shortcuts taken? Insufficient adhesion due to a poorly prepared surface can also lead to issues. Identifying and rectifying these past mistakes is essential for a long-lasting and aesthetically pleasing result.
If this is the case, you will need to re-tape and re-spackle the area as noted above. Be sure to weigh all considerations before moving forward with repairing the drywall cracking or sagging. Identifying the root cause of your drywall cracking or bulging is just as important as repairing the area as it will ensure the cracks and bulging are much less likely to come back.
The same steps mentioned above would be applied to loose tape on the corners of rooms. Be sure to consider room and exterior temperature when spackling and taping. If temperatures are frigid, you may have some difficulty with adhesion or drying on exterior walls.
Drywall Cracking in Corners
Assuming this is not a structural item, drywall cracking in corners can occur from an improperly prepared wall (see above). If this is the case, you have two options. One would be to repair the cracking in corners with a bead of paintable caulk, this would be the least intensive repair and would depend on the size of the crack. If the drywall cracking in the corner is too large, this method might not work. Additionally, you would need to, at the very least, use some touch up paint in the corner to cover the paintable caulk. Two, would be to redo the tape and spackle in the corner of the room. This would involve removing the tape and spackle, re-taping, and spackling, then re-painting. The second option is more intensive and will surely cost you more upfront, but you can rest assured knowing the repair is complete.
Conclusion
Understanding the causes of drywall cracks, bulging seams, and loose corners is the first step towards effective prevention and repair. As a painting contractor, my expertise lies in spackling, drywall preparation, and painting – the final touches that enhance the beauty of your home. If you encounter these issues, act promptly to address the root causes. For any concerns related to structural issues, always consult with a qualified professional. Stay tuned for more tips and insights from Maxwell Painting to keep your home looking its best.
Maxwell Painting is the house painter NJ trusts to get the job done right the first time. If you’re looking for quality, reliable residential painting services in North Jersey, and would like to schedule a fast free quote, give us a call at (973) 283-5158 or CLICK HERE to send us a message and a representative will reach out to you as soon as possible.

Leave a comment